
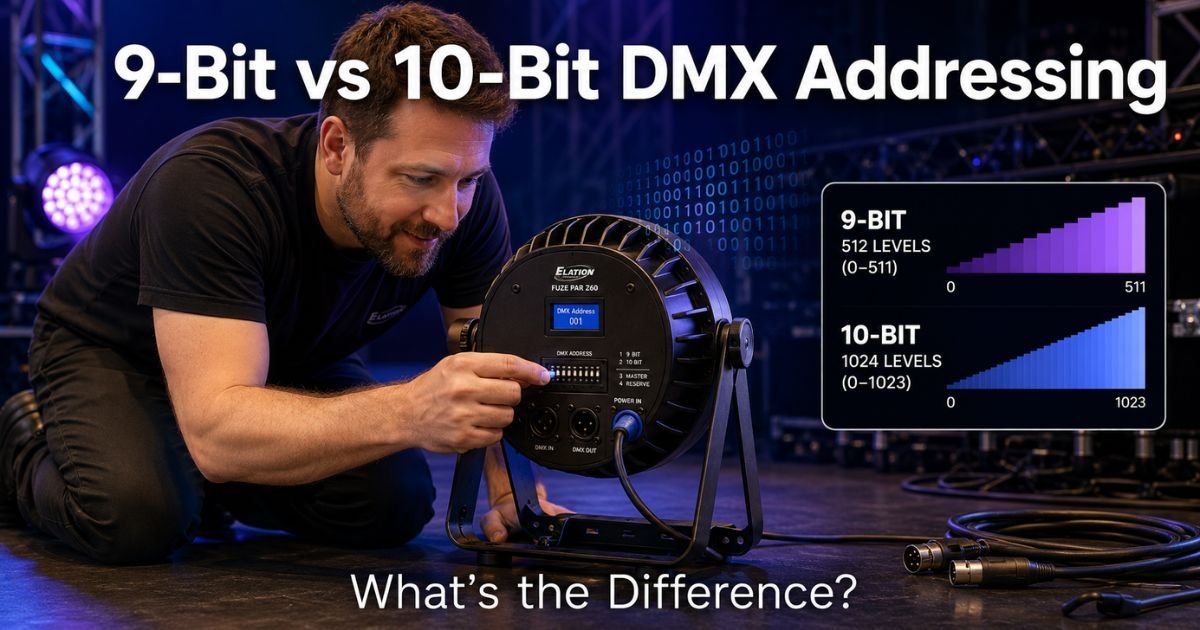
Ever stood in front of a new lighting fixture, stared at those tiny DIP switches, and wondered why some need nine flips while others use all ten?
You’re not alone. Setting the right DMX address is the key to making your lights dance exactly how you want, but the 9-bit versus 10-bit question trips up even seasoned techs.
If you’re new to stage lighting or just upgrading your setup, understanding 9-bit vs 10-bit DMX addressing will save you hours of troubleshooting and prevent those frustrating “why isn’t this light responding?” moments.
You’ll discover exactly how these bit depths work, why the difference matters for your gear, and practical steps to set addresses like a pro.
What Is DMX Addressing and Why Does Bit Depth Matter?
DMX512 is the universal language your lighting controller uses to talk to every fixture on the line. Each fixture needs its own starting address so the controller knows exactly which commands go where. Think of it like giving every light its own mailbox number in a giant apartment building.
The “bit” part refers to how many binary switches your fixture uses to calculate that address. Standard DMX gives you 512 possible channels per universe. That number comes straight from 2 raised to the 9th power, which equals 512. So most fixtures rely on 9-bit addressing for the full range.
But many fixtures ship with a 10-position DIP switch panel. The extra switch isn’t always for the address itself. Instead, it often handles mode selection, test functions, or standalone operation. That’s where the 9-bit vs 10-bit conversation really kicks in.
How 9-Bit DMX Addressing Works
In a pure 9-bit setup, you get nine switches that represent powers of two: 1, 2, 4, 8, 16, 32, 64, 128, and 256. Flip the right combination on, add up the values, and add 1 to get your DMX start address (because addresses usually begin at 1, not 0).
This system is clean, reliable, and matches the DMX512 standard perfectly. You can reach any address from 1 to 512 without wasting switches.
Why 9 Bits Is the Sweet Spot for Most Setups
- Covers the entire 512-channel universe in one go
- Simple math you can do in your head once you memorize the powers of two
- No extra switches to accidentally flip and break your mode
Most budget LED pars and basic dimmer packs use this exact 9-bit approach. It keeps things straightforward for quick load-ins.
The Role of 10-Bit DMX Addressing
When your fixture has ten DIP switches, the first nine still handle the binary address exactly like before. The tenth switch usually controls something else, such as switching between DMX mode and standalone music mode, or enabling a built-in test pattern.
Some older or specialized controllers treat the entire panel as a full 10-bit system, giving you a theoretical range up to 1023. In practice, though, DMX512 only uses 512 channels per universe, so the extra range is rarely needed unless you’re daisy-chaining multiple universes or working with proprietary gear.
Pro Tip: Always check your fixture’s manual before flipping that tenth switch. On most LED fixtures it turns test mode on or off. Flipping it by accident can make your light ignore the controller completely.
9-Bit vs 10-Bit DMX Addressing: Side-by-Side Comparison
Here’s a quick table to make the differences crystal clear:
| Feature | 9-Bit Addressing | 10-Bit Addressing |
|---|---|---|
| Max address range | 1–512 | 1–1023 (theoretical) |
| Number of switches used for address | 9 | 9 or 10 (10th often for mode) |
| Best for | Standard DMX512 fixtures | Fixtures with extra mode functions |
| Calculation simplicity | Straightforward binary | Same binary plus mode switch |
| Common on | Budget pars, dimmers | Advanced LED fixtures, older gear |
| Risk of overlap | Low if you calculate correctly | Higher if you ignore the 10th switch |
This table shows why most people never notice a huge practical difference in everyday use.
Real-World Example
Take a 32-year-old freelance lighting tech in Nashville. He was setting up eight new LED par cans for a corporate event. The first four worked perfectly on addresses 1, 17, 33, and 49. But fixtures five through eight stayed dark no matter what he tried.
After 20 minutes of head-scratching, he realized the new lights had a 10-switch panel. He had accidentally flipped the tenth switch into test mode on every unit. Once he flipped it back, the lights snapped to life exactly where he wanted them.
He now keeps a laminated cheat sheet of the binary values in his tool bag. One small mistake taught him the real-world value of understanding 9-bit vs 10-bit DMX addressing.
Common Mistake: Forgetting to add 1 after summing the switch values. If your switches add up to 99, your actual address is 100, not 99. This tiny error causes overlapping addresses and chaotic light shows.
Step-by-Step Guide to Setting Any DMX Address
- Locate the DIP switch panel on the back or bottom of your fixture.
- Identify which switches control the address (usually 1–9).
- Decide your desired start address (make sure it doesn’t overlap with other fixtures).
- Break the address number down into binary using the powers of two.
- Flip the matching switches to the ON position.
- Double-check that the tenth switch (if present) is in DMX mode.
- Power up the fixture and test from your controller.
Repeat for every light in the chain and you’ll have rock-solid control.
Advanced Tips for Larger Systems and Multiple Universes
When you move beyond one universe, the same 9-bit or 10-bit rules apply inside each universe. Just remember each universe is completely separate. Address 1 on universe 1 is totally different from address 1 on universe 2.
Many modern consoles let you patch fixtures by name instead of raw numbers, but you still need to set the physical DIP switches or digital address on the fixture itself first.
Choosing the Right Fixtures for Your Workflow
If you’re buying new gear, look for fixtures that clearly label their DIP switches and include a built-in address display. The extra $20–50 for a digital readout is worth every penny when you’re working under time pressure.
FAQs About 9-Bit vs 10-Bit DMX Addressing
How do I know if my fixture uses 9-bit or 10-bit DMX addressing?
Check the back panel for the number of DIP switches. Nine switches almost always means pure 9-bit addressing. Ten switches usually follow the 9-bit address plus one mode switch. Your manual will confirm the exact layout.
Can I use a 10-bit DIP switch fixture on a standard 9-bit DMX system?
Absolutely. Just ignore or set the tenth switch to the proper DMX position. The first nine switches work exactly the same way, so compatibility is never an issue in normal setups.
What happens if I set the wrong address using binary switches?
Your light either won’t respond or it will fight with another fixture for the same channels. Always test one fixture at a time and use a simple controller or your console’s “locate” function to verify before moving on.
Conclusion
You now know the core difference between 9-bit and 10-bit DMX addressing: it’s all about how many switches handle the binary math for your start address, with the extra switch on 10-position panels usually reserved for mode control.
Remember the simple binary values, always add one to your total, and check that tenth switch. Do those three things and you’ll avoid 90 percent of common addressing headaches.
Next time you’re rigging lights, you’ll set addresses faster, with more confidence, and zero guesswork. Grab your tool bag, flip those switches, and watch your stage come alive exactly the way you imagined.
Disclaimer: This content is for informational and educational purposes only and does not constitute professional, financial, legal, or medical advice. The information provided may not apply to your specific situation. Always consult a qualified professional for personalized guidance.